Exploration
How to Set GTA 6 Waypoints and Use the Map Index
Quick answer
To mark something nearby in GTA 6, hold Down on the D-pad in free roam. Highlight the visible point and click the right stick to route to it. For a destination farther away, open the full map and use Set Destination or browse the Index by category.
Set a waypoint from the world view
- In free roam, hold D-pad Down to show the nearby navigation markers.
- Move your selection onto the shop, mission or point you want. Check the label when several markers are close together.
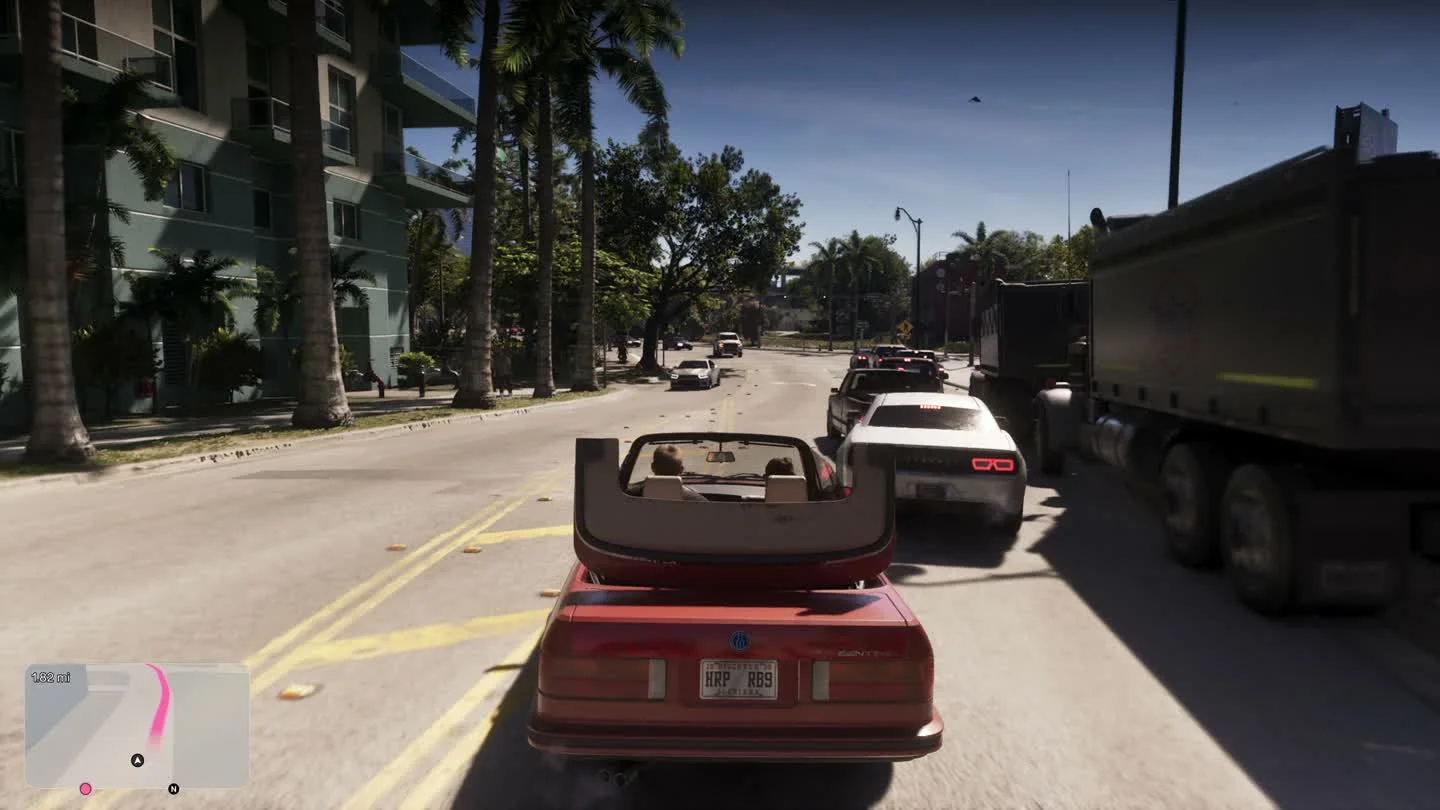
- Click the right stick to set the route. Check the destination shown on the minimap before moving.

Use the map for an exact stop or a store category
Open the map from the pause menu. Move the cursor to a point on the road or select a labeled place and use the Set Destination prompt. Choose the entrance you want to approach when a large destination has several access roads.
For stores, step into the Index view and choose the category. For example, Vehicles → Mod Shops is useful when you know you need an upgrade but haven’t decided which shop to visit. Style → Electronics helps find a retailer that carries headphones.
When an objective is still missing
If a shop doesn’t show in your nearby view, open the Index and look at the area and shop type there. For a story job, check which protagonist the mission uses and whether you still need to receive a call. Changing the waypoint won’t trigger a job whose prerequisite is unfinished.
Use the Leonida Atlas to get your bearings for a named area. Place the final waypoint using the game’s mission or entrance marker.
Frequently asked questions
Can I set a destination without closing the game view?
Yes. Hold D-pad Down in free roam, select a nearby indicator and click the right stick.