Controls & settings
How to Calibrate GTA 6 HDR on PS5 and PS5 Pro
Quick answer
Set PS5 HDR to On When Supported under Settings → Screen and Video → Video Output, then run Adjust HDR on the console. In GTA 6, go to Settings → Display, turn HDR on and open HDR Calibration. Use the game’s test images to dial in your display.
Check PS5 HDR before changing the game
Use the TV picture mode you intend to play with. Then go to PS5 Settings → Screen and Video → Video Output. On When Supported uses HDR for compatible games and SDR for unsupported content. Run Adjust HDR with that setup active.
If HDR is unavailable, check the TV’s HDR support on the HDMI input used by the console. Try the PS5 connected directly to the TV if you normally route it through a receiver or switch. Once HDR works reliably at the console level, return to the game’s Display tab.
Use all three in-game test images
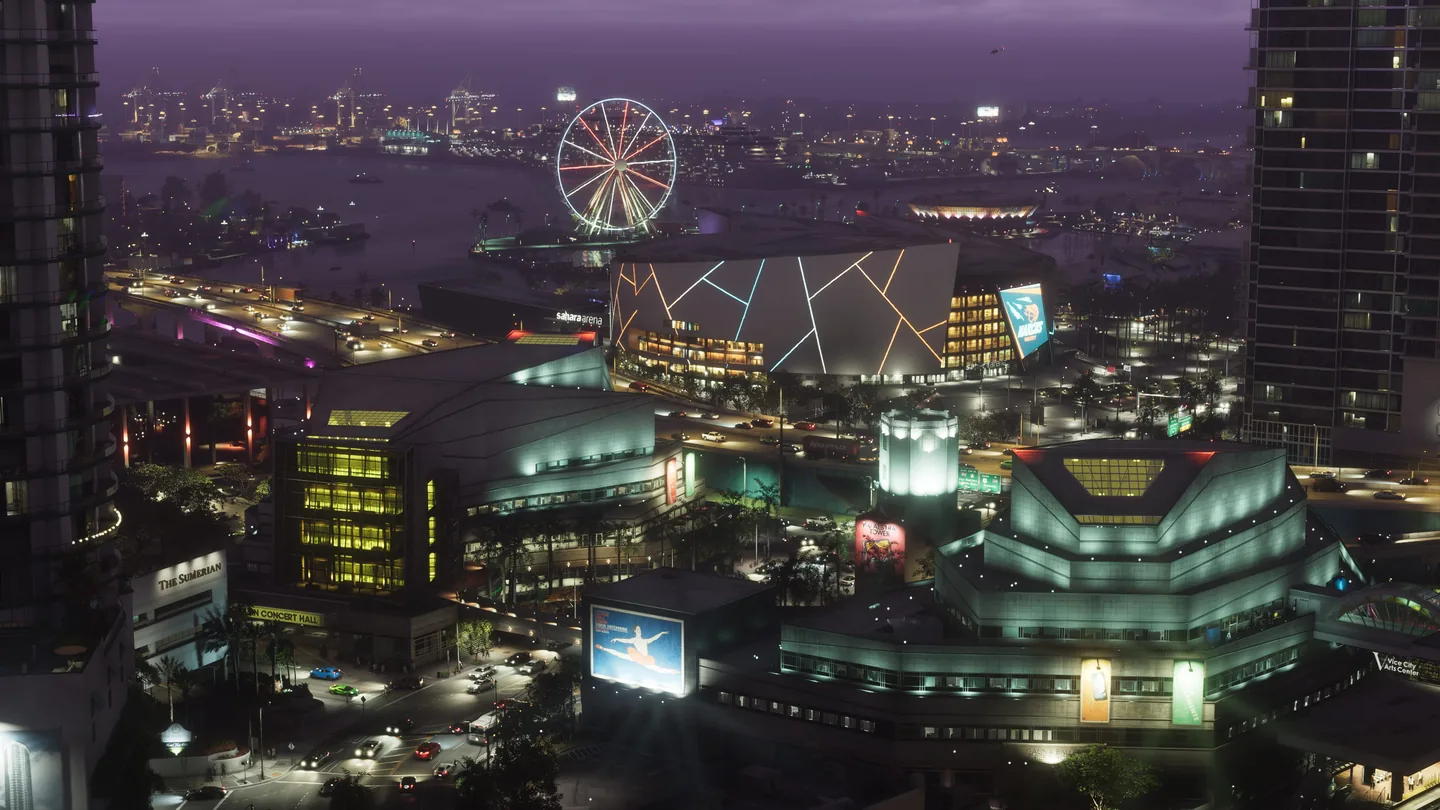
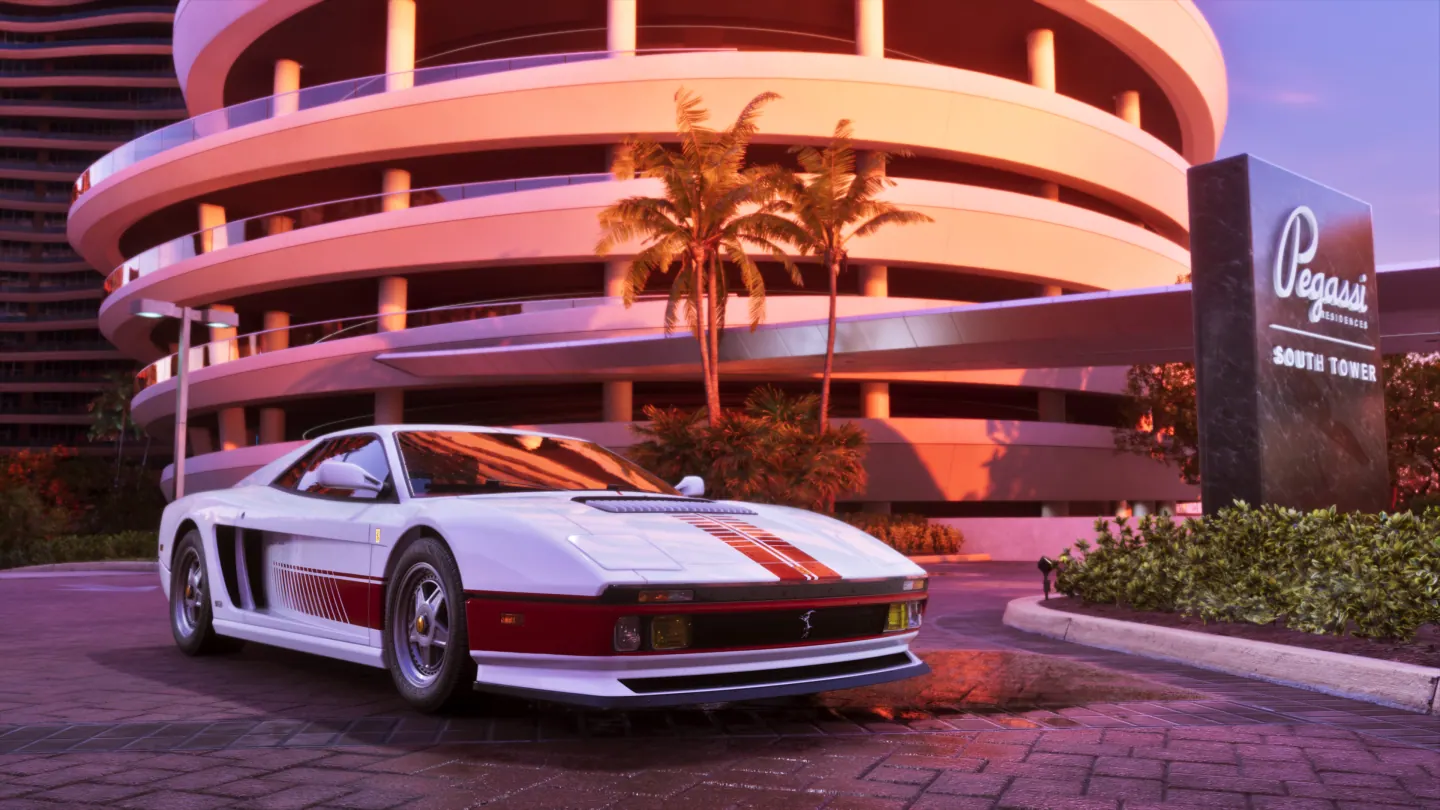
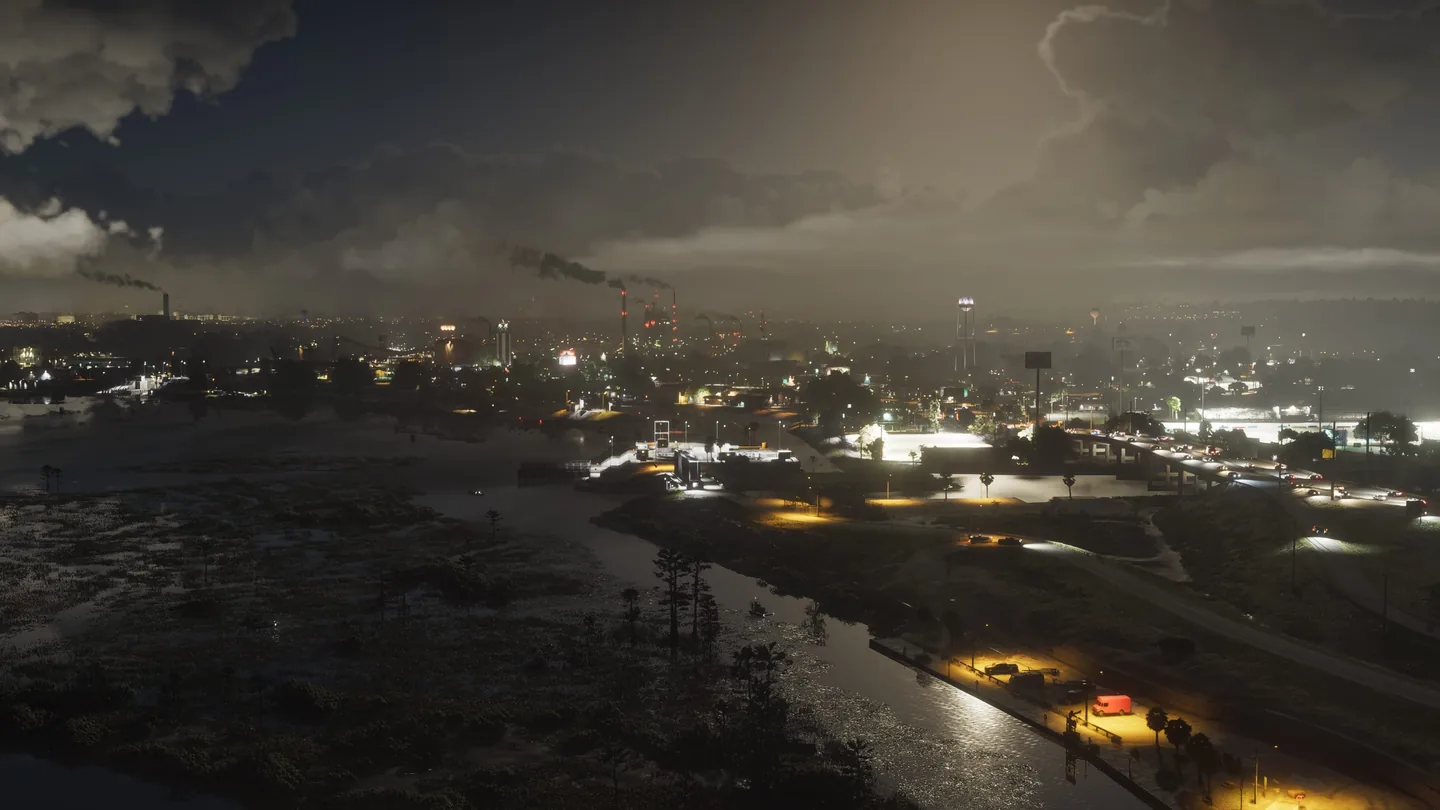
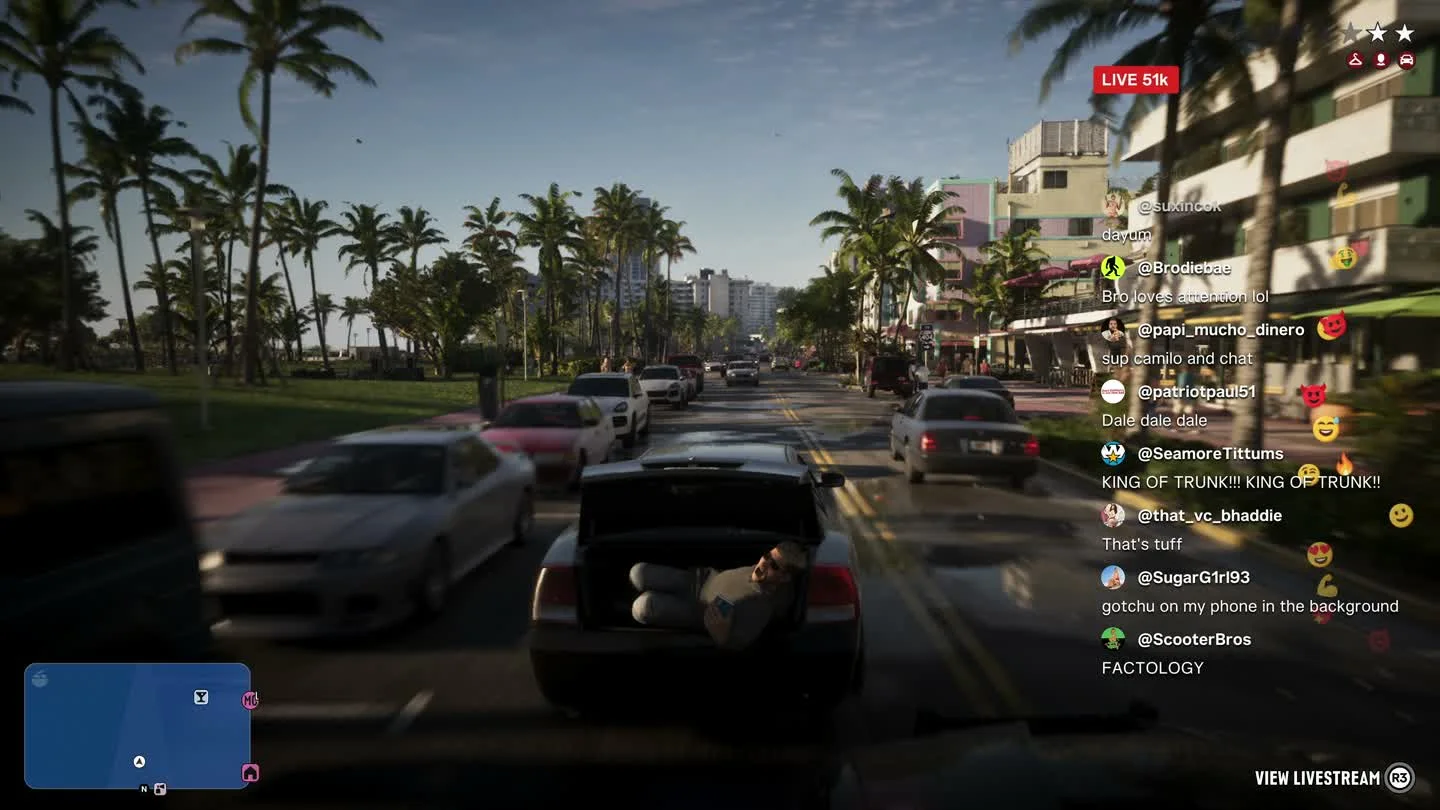
The PS5 launch screen includes a logo pattern and two scenes, one in daylight and one at night. Switch images with R1 and judge highlights, dark detail and ordinary scene brightness on the same settings. The captured starting values are 600, 50 and 50. Those are useful recovery points.
| Slider | What to compare |
|---|---|
| Max Brightness | Start with the logo’s visibility prompt, then check whether bright surfaces still show detail in the daylight test scene. |
| Black Levels | Check the dark scene. Keep shadow shapes readable while the darkest areas stay dark. |
| Paper White | Adjust for comfortable brightness in normal surfaces without using it to compensate for poor highlight or shadow calibration. |
- Use the D-pad to select and adjust the slider. Follow the guidance shown for the test image.
- Use Triangle to hide the settings overlay when judging the whole frame.
- If a slider gets away from you, highlight it and press Square to restore its default. Use Cross to continue once you finish.
Compare HDR and SDR when the image looks wrong
If highlights look flat but dark scenes look right, revisit Max Brightness before changing Black Levels. If shadows look gray, use the night test image to check Black Levels. If bright and dark parts have detail but normal surfaces feel too dim, adjust Paper White first.
For a useful comparison, stay in one location and change the in-game HDR switch, keeping the console on On When Supported. Check your TV’s signal information to see which mode is active. Keep the look you prefer in both bright and dark scenes.
Frequently asked questions
Does GTA 6 need HDR on both the PS5 and the game?
For the game’s HDR presentation, use a supported display, enable compatible HDR output on the console and set the game’s HDR option to On.
What values should I use for OLED or a monitor?
Use the test images and your actual lighting. The recorded default sliders give you a baseline. Adjust each against the same images before trying values from a different panel.
What players are asking
How do the console and in-game HDR switches interact?
Player discussion about HDR on PS5 versus inside the game